
Integration Access Requirements
- Magento Username
- Magento API Key
- Magento Consumer URL
Definitions
API Key: A key or password you create when you add a user on Magento.
Consumer URL: Your Magento Consumer URL is the url/address of your magento shop.
User-Defined Marketplace Name: The name you give your new integration.
Pull Orders From Marketplace: Begin pulling down your orders from Magento into your DesktopShipper order manager.
Update Market With Shipments: Whenever you ship orders through DesktopShipper, the shipment information will be written back to Magento.
Add User on Magento (Create Username and API Key)
Step 1: Create Role
1) Login to your Magento account.
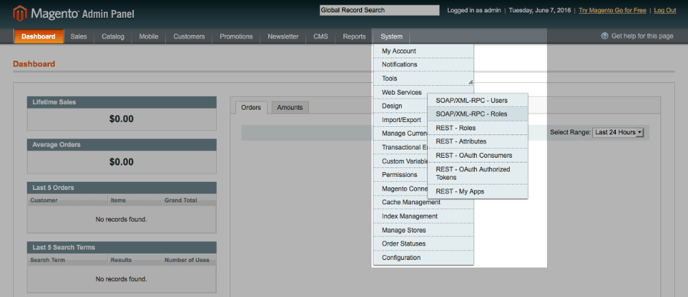
2) From your Magento Dashboard, go to System > Web Services > SOAP/XML-RPC - Roles.

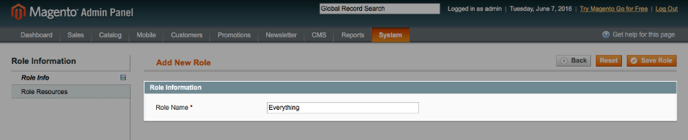
3) Click Add New Role.
.png?width=688&name=magentoPanel2Dim%20(1).png)
4) For Role Name, enter "Everything".
5) Select Role Resources > Resource Access.
6) For Resource Access, select "All".
7) Click Save Role to finish.

Step 2: Create User
1) Make sure you created a role (above step) before creating a user.
2) From your Magento Dashboard, go to System > Web Services > SOAP/XML-RPC - Users.
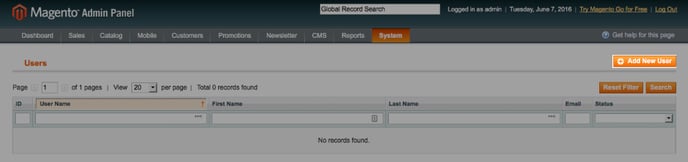
3) Click Add New User.
4) Give your account a User Name and API Key.
5) Fill out the remaining fields First Name, Last Name, Email, etc. and select Active.

6) Click Save User.
Step 3: Add User to Role
1) Click User Role.
2) Select the role "Everything" which you created in the first step.
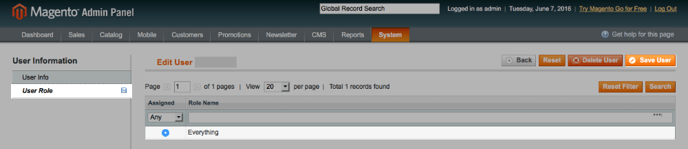
3) Click Save User.
Add new Integration Instance
1) Login to your DS Cloud account.
2) Go to Settings > Integrations and click Add.
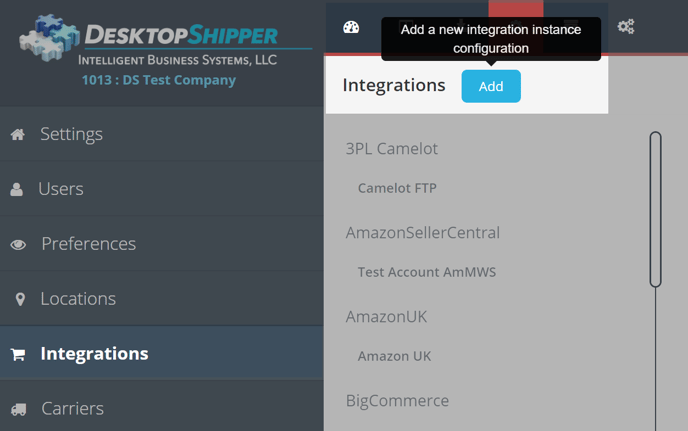
3) Select Magento from the "Add Integration" modal.
4) In the modal, give your new integration a name(User-Defined Marketplace Name).
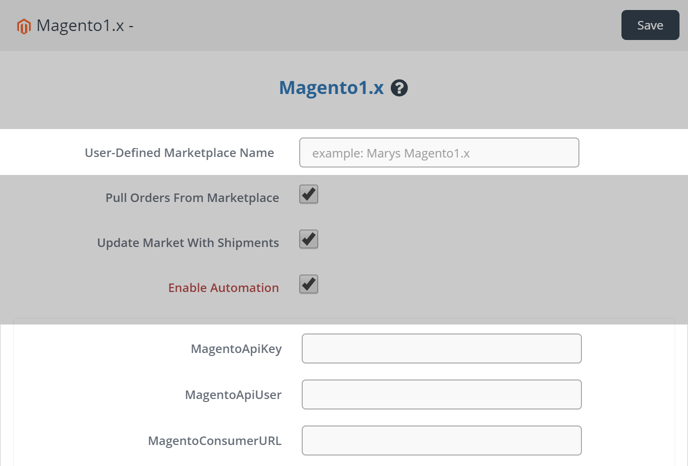
5) Enter your Magento API Key, Username, and URL.
6) When you're finished, click Save.