
- Documentation
- Supported Integrations
- Integrations
ChannelAdvisor
How to integrate ChannelAdvisor
Integration Access Requirements
- Profile Id
- Soap Id
Definitions
User-Defined Marketplace Name - The name you give your new integration, when you add an account on DesktopShipper.
Pull Orders From Marketplace: Begin pulling down your orders from ChannelAdvisor into your DesktopShipper order manager.
Update Market With Shipments: Whenever you ship orders through DesktopShipper, the shipment information will be written back to ChannelAdvisor.
Get Profile Id
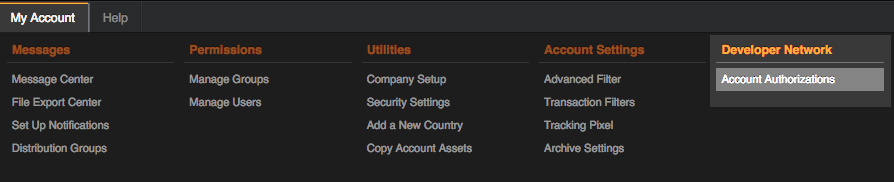
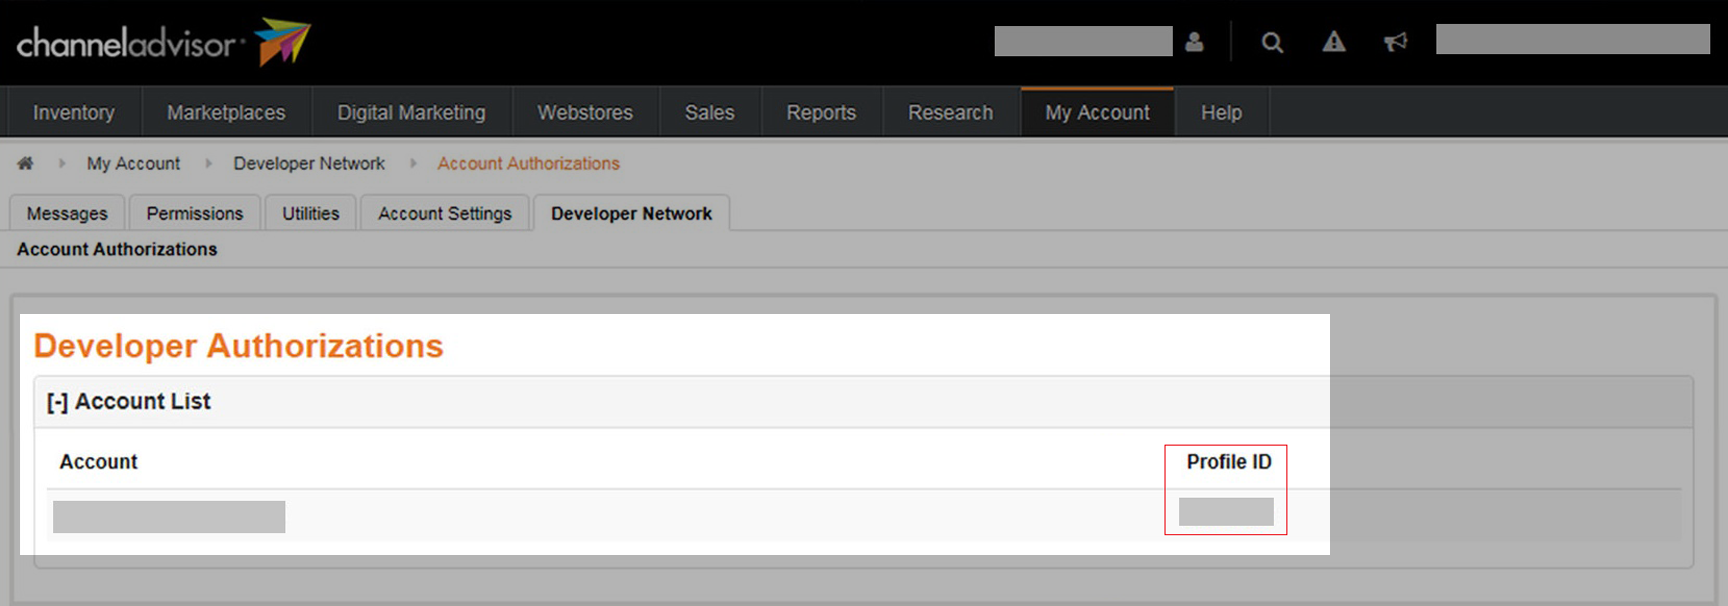
1) Go to your Channel Advisor account, select MyAccounts > Developer Network > Account Authorizations.
2) You will find your Profile ID under the Account List section.
Add new Integration Instance/Get Soap Account ID
1) Login to your DS Cloud account
2) Go to Settings > Integrations and click Add.
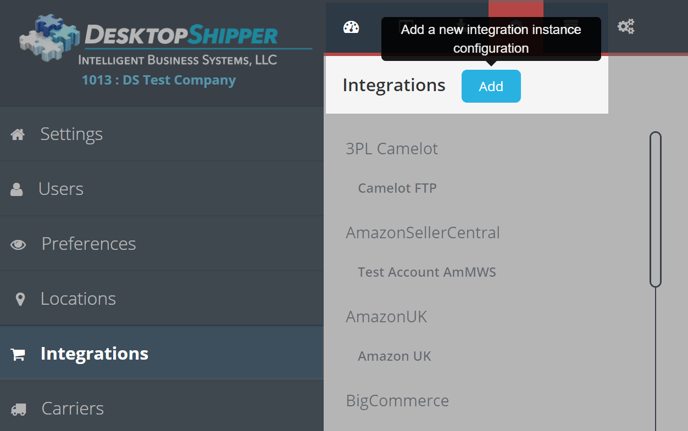
3) Select ChannelAdvisor from the "Add Integration" modal.
4) In the modal, give your new integration a name(User-Defined Marketplace Name).
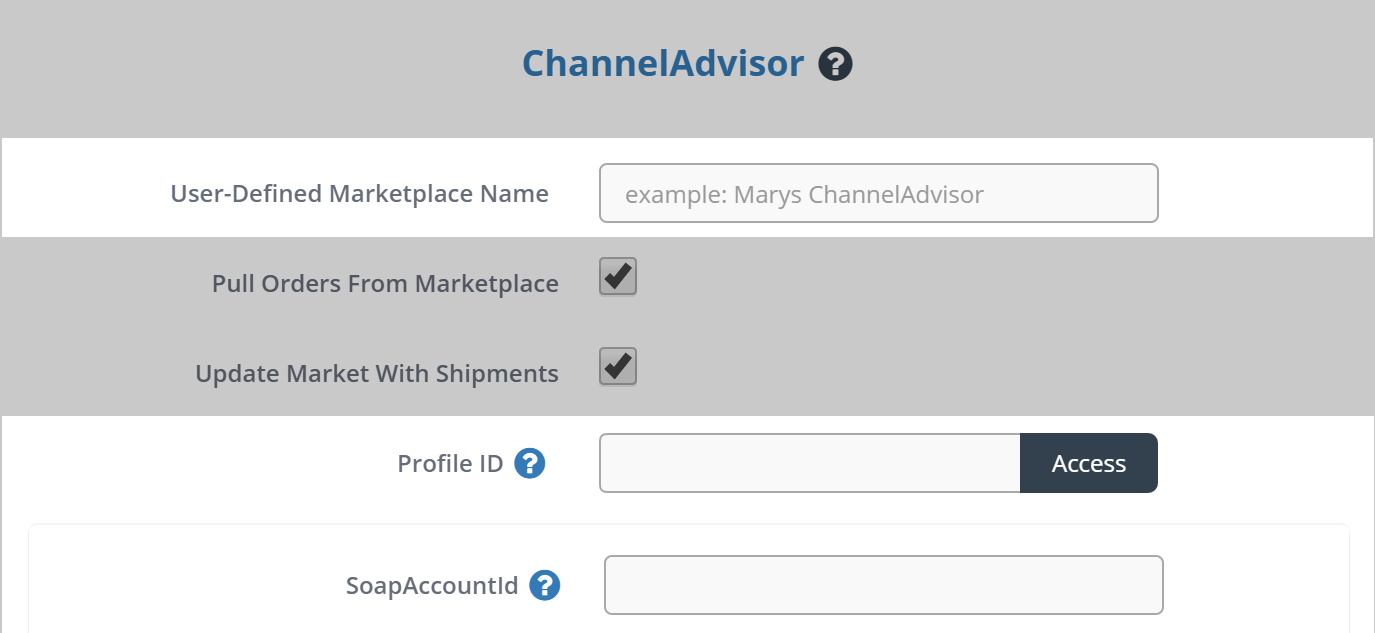
5) Enter your Profile ID.
6) Click Access to get your Soap Account ID.
7) Enter your Soap Account ID.
8) When you're finished, click Save.