
Account setup steps and requirements
*Internal document, if you are trying to set up Asendia and are not a DesktopShipper employee please contact support@desktopshippper.com
Table of Contents:
Requirements:
*Gather from Asendia Representative
- *Account Number
- *Username
- *Password
- *API Key
- *Facility Code
- Client ship from facility location
Steps:
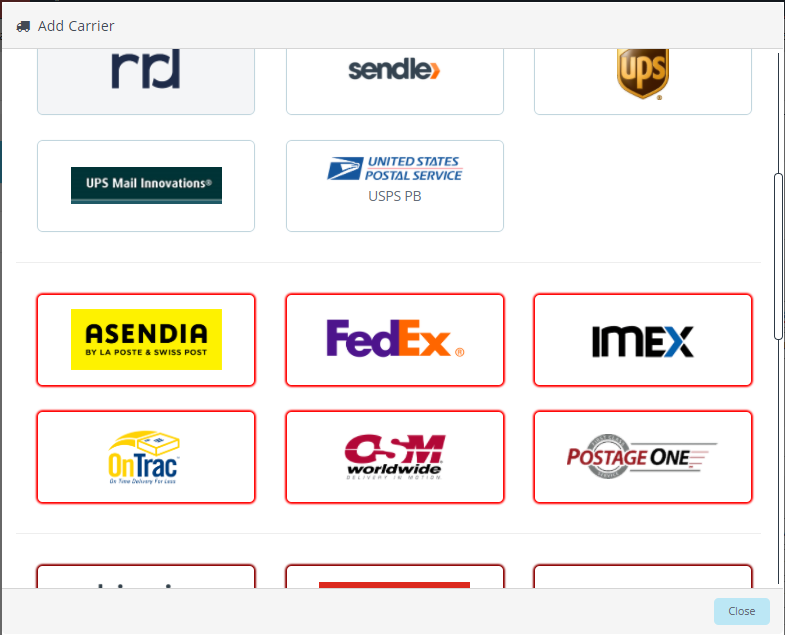
- On ship.desktopshipper.com, navigate to Settings > Carriers > Click on the blue 'Add' button.
- Select the Asendia Carrier Tile
- In the modal that opens fill in the appropriate information:
- Account Name: A name that is meaningful to client for the carrier account.
Example - "{Company Name} Asendia", "DS Test Company Asendia" - Account Number: Asendia account number from the requirements section above.
- Enable: On/Off determines if the account can be used.
- Sample Mode: Not currently supported, this toggle will not affect shipments in any way.
- User Name: Asendia API user name from the requirements section above.
- Password: Asendia API password from the requirements section above.
- API Key: Asendia API key from the requirements section above.
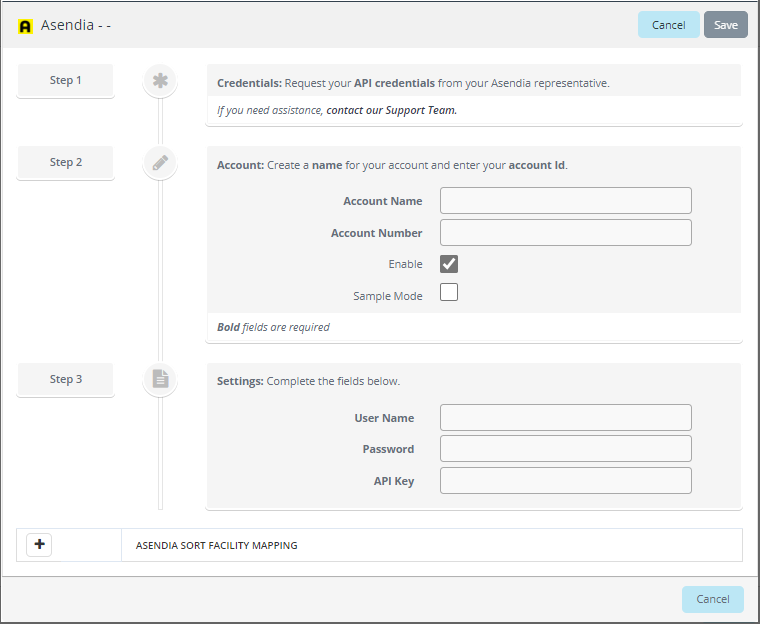
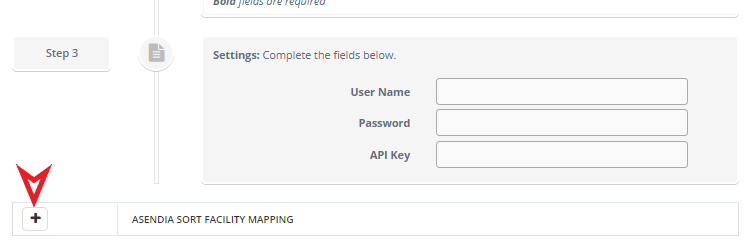
- Click on the '+' button at the bottom of the modal to add a facility mapping.
- Account Name: A name that is meaningful to client for the carrier account and the location they are shipping from.
Example - "{Account Name} {Asendia location}" "DS Test Company Asendia ORD" - Sub-Account: This is an internal identifier similar to the DHL Pickup account to tie client locations to different Asendia locations using the same Asendia account.
Example - "{Account Number} - {Facility Code}", "123456789 - ORD" - Enable: On/Off determines if the account can be used.
- Sample Mode: Not currently supported, this toggle will not affect shipments in any way.
- Location: Drop down list of the client's pre-setup locations (Settings > Locations)
- International Sort Facility: Asendia API Facility Code from the requirements section above.\
- Sub-Account Number: (Not required, not a typical Asendia client set up) Asendia API sub-account.
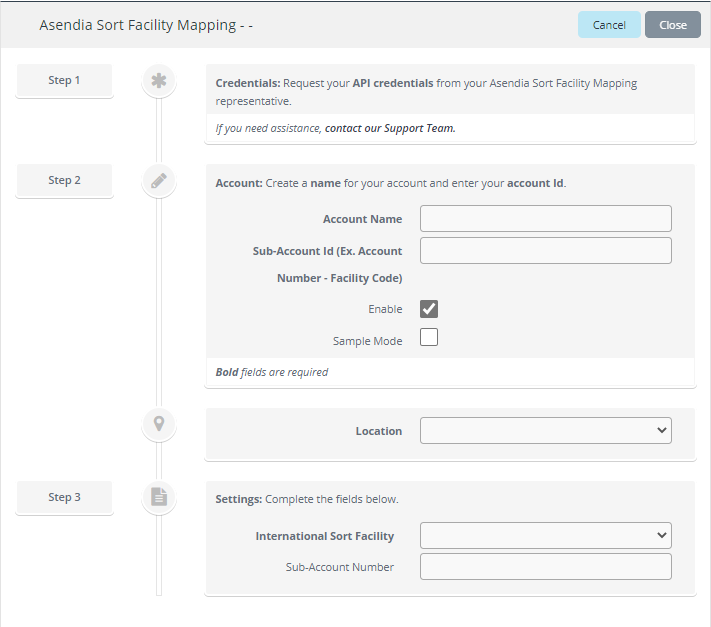
- Click 'Close' at the top of the Asendia Sort Facility Mapping modal.
- Account Name: A name that is meaningful to client for the carrier account and the location they are shipping from.
- Then click "Save" at the top of the Add Asendia Carrier modal.
- Account Name: A name that is meaningful to client for the carrier account.
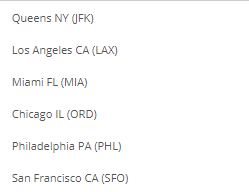
Facilities:
FAQ:
- Why do I need to set up a Asendia Sort Facility Mapping?
- Asendia sort facility mappings allow DesktopShipper clients to send packages to different Asendia facilities based on the client's ship from warehouse. Secondarily, if a client has a sub account tied to one of their facilities this can be set up here and will be sent in the request to the Asendia A1 API.
- More to come.